There’s nothing quite like the heartwarming feeling of making pierogi from scratch. The moment you roll out the dough and see those perfect little circles, it feels like a warm hug in the kitchen. As I worked on these delightful pockets of joy, the smell of buttery sautéed dough began to fill my home, transporting me back to family gatherings where laughter and delicious food were always in abundance.
I recently rediscovered this gem of a recipe while reminiscing about my grandmother’s cooking. With just a handful of simple ingredients—flour, egg, potatoes, and cottage cheese—you can create a dish that’s not only comforting but also incredibly versatile. Whether you enjoy them boiled and nestled under a dollop of sour cream or elegantly sautéed until golden brown, pierogi have this unique way of uniting everyone’s taste buds.
Perfect for a cozy dinner or a fun cooking night with friends, this recipe will have you ditching the fast food routine and diving into the delightful world of homemade goodness. Who’s ready to roll up their sleeves and discover the magic of pierogi? 🥟
Why You'll Love This Pierogi
- This pierogi recipe is incredibly easy to follow, making it perfect for cooks of all skill levels.
- The delightful combination of flavors from the potatoes and cottage cheese creates a comfort food experience that is simply irresistible.
- With the ability to customize the fillings, you can make these pierogi suit any taste preference, whether savory or sweet.
- Their beautiful golden-brown appearance after sautéing makes them not just tasty but visually appealing, ensuring they will impress your guests at any gathering.
Pierogi Ingredients
For the Dough
- All-purpose flour – a staple that forms the base of your pierogi, giving them the perfect texture.
- Large egg – brings richness to the dough and helps bind the ingredients together.
- Room temperature water – ensures a smooth consistency when mixed into the dough.
- Salt – enhances the flavor of the dough, making each bite delicious.
For the Filling
- Starchy potatoes (like Russets) – these potatoes provide a creamy texture when mashed, essential for a delightful filling.
- Full-fat cottage cheese – adds creaminess and a touch of savory flavor, balancing perfectly with the potatoes.
For Serving
- Sour cream – a classic topping that adds creaminess and a tangy contrast, elevating your pierogi experience.
Get ready to create these delicious homemade pierogi that everyone will love! 🥟

How to Make Pierogi
-
Prepare the Dough: In a large bowl, mix the flour and salt together. Create a well in the center and gradually add the egg and water. Mix until a soft dough forms, then knead gently until smooth and elastic. Let it rest for about 20 minutes.
-
Make the Filling: Peel and chop the potatoes, then boil them in salted water until fork-tender. Drain well and mash until smooth. Combine them with cottage cheese, adding a pinch of salt to enhance the flavors.
-
Roll Out Dough: On a generously floured surface, roll the dough to about 1/8 inch thick. Use a 3-inch cookie cutter to cut out circles, ensuring you have enough for all your filling.
-
Fill and Seal: Place a tablespoon of the potato and cottage cheese filling on each circle. Fold the dough over the filling and pinch the edges firmly to seal them. Make sure there are no air pockets.
-
Cook the Pierogi: In a large pot, bring salted water to a gentle boil. Drop the pierogi into the water in batches, cooking until they float (about 3-5 minutes). Remove them carefully with a slotted spoon and let them drain.
-
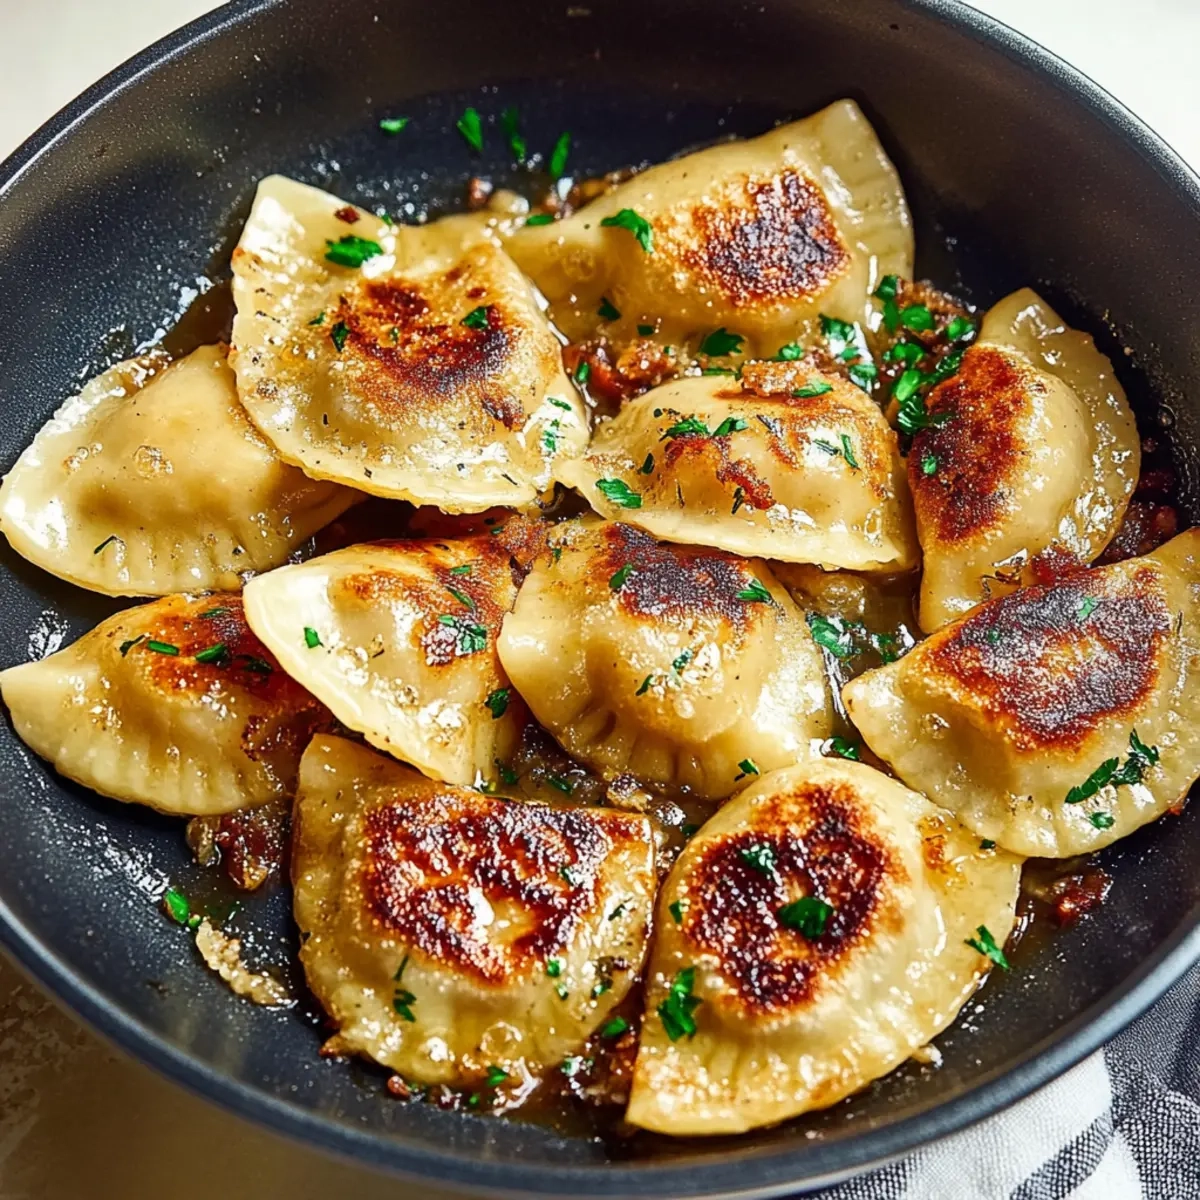
Sauté for Extra Flavor: In a skillet over medium heat, melt a couple of tablespoons of butter. Add the cooked pierogi and sauté until they turn golden brown and crispy on both sides, which will take about 4-5 minutes.
Optional: Serve topped with a generous dollop of sour cream for an extra creamy twist!
Exact quantities are listed in the recipe card below.
Make Ahead Options
These pierogi are perfect for meal prep enthusiasts looking to save time during busy weeknights! You can prepare the dough up to 24 hours in advance; simply wrap it tightly in plastic wrap and refrigerate to prevent it from drying out. The filling can also be made ahead; mix the mashed potatoes and cottage cheese, and store it in an airtight container in the fridge for up to 3 days. When you’re ready to enjoy your pierogi, roll out the dough and fill them before boiling. For the best flavor, sauté the cooked pierogi just before serving—they’ll be just as delicious as freshly made!
What to Serve with Pierogi?
Creating a full meal around pierogi opens up a delightful world of flavors and pairings that will elevate your dining experience.
-
Savory Sauerkraut: The tangy taste of sauerkraut pairs beautifully with pierogi, adding a crunchy texture and balance to richness. Perfect for those who enjoy a little zest in their meal.
-
Caramelized Onions: Sweet, golden onions enhance the overall flavor profile, giving an inviting warmth. A generous spoonful on top of your pierogi transforms each bite into an irresistible delight.
-
Grilled Sausage: The hearty, smoky flavor of grilled sausage brings a satisfying meaty element to the table. This combination creates a hearty and comforting meal that everyone will adore.
-
Mixed Green Salad: Fresh greens with a light vinaigrette offers a refreshing contrast to the richness of the pierogi. The crispy texture and bright flavors cleanse the palate after each savory bite.
-
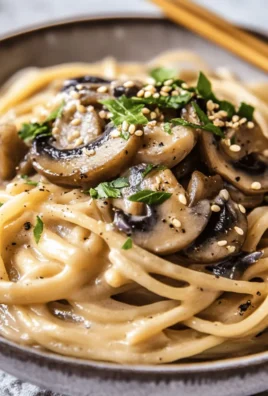
Creamy Mushroom Sauce: A rich, earthy mushroom sauce drizzled over your pierogi takes comfort food to the next level. The combination of flavors creates a luxurious dining experience that excites the taste buds.
-
Roasted Vegetables: Roasted seasonal veggies provide not only beautiful colors but also important nutrients. Their caramelized sweetness works harmoniously with the comforting pierogi for a wholesome touch.
-
Bubbly Wine: A glass of crisp white wine or sparkling wine pairs nicely, complementing the dish with its acidity. The effervescence adds an elegant touch to your meal, making it just a bit more special.
-
Apple Pie: For dessert, a warm slice of apple pie with a scoop of vanilla ice cream perfectly rounds off the meal. Its sweet and tart flavors echo the comfort of your pierogi, creating a heartfelt ending.
How to Store and Freeze Pierogi
Room Temperature: Store freshly cooked pierogi at room temperature for up to 2 hours. If longer, it’s best to refrigerate them to ensure freshness.
Fridge: Keep your leftover pierogi in an airtight container in the fridge. They will stay delicious for up to 3 days. Reheat gently in a skillet or microwave.
Freezer: For longer storage, freeze uncooked pierogi on a baking sheet until solid, then transfer to a freezer bag. They can be frozen for up to 3 months. Cook from frozen, adding a few extra minutes to the boiling time.
Reheating: To reheat refrigerated pierogi, simply sauté them in a bit of butter until heated through. This will also give them that delightful crispiness!
Pierogi Variations
Embrace the opportunity to make this pierogi recipe your own with a variety of delightful twists and turns!
-
Cheesy Delight: Swap cottage cheese for sharp cheddar for a rich, melty filling that packs a flavor punch. Each bite will be an explosion of cheesy goodness!
-
Vegan Option: Use a flax egg and substitute the cottage cheese with silken tofu blended with nutritional yeast for a creamy filling without the dairy.
-
Herbed Filling: Add fresh herbs like dill or chives to the potato and cheese filling for a burst of flavor. The fresh herbs bring life to your pierogi, making them sing!
-
Spicy Kick: Mix in some sautéed jalapeños or red pepper flakes with your filling to introduce a bit of heat that will ignite your taste buds!
-
Savory Sauerkraut: Replace the potatoes with sauerkraut for a tangy twist on the classic filling. These pierogi will have a delightful crunch that dances on the palate.
-
Sweet Surprise: Create a sweet version by using a fruit filling, like mashed blueberries or cherries, and serve them topped with whipped cream for a delightful dessert.
-
Mushroom Medley: Incorporate sautéed mushrooms into the filling to create a umami-filled bite that adds depth and richness to your pierogi.
-
Twice-Fried Texture: For an extra crispy edge, double-fry the pierogi. After boiling, allow them to cool and fry again for a golden crunch that will leave everyone wanting more.
Remember, the beauty of pierogi lies in their adaptability—let your creativity shine! 🥟
Chef's Helpful Tips
- For the perfect pierogi, ensure your dough is well-kneaded but not overworked to maintain a tender texture.
- When making the filling, using starchy potatoes like Russets will give you the right creaminess for a delightful bite.
- While sealing the pierogi, be sure to press out any air pockets for a better seal and to prevent them from bursting while cooking.
- When boiling the pierogi, cooking them until they float ensures they are fully cooked and ready for a delicious sauté in butter for added flavor.
Pierogi Recipe FAQs
What type of potatoes should I use for the filling?
Absolutely! For the best filling, I recommend using starchy potatoes, like Russets. They mash beautifully to create a creamy texture that pairs perfectly with the cottage cheese. A good rule of thumb is to avoid waxy potatoes, as they won’t give you that desirable fluffiness.
How should I store leftover pierogi?
After a delicious meal, store your leftover pierogi in an airtight container in the fridge. They will stay fresh for up to 3 days. When you’re ready to enjoy them again, simply reheat in a skillet with a bit of butter for that delightful, crispy finish.
Can I freeze pierogi? If so, how?
Yes! Freezing pierogi is a fantastic way to have homemade goodness on hand. If they are uncooked, place them on a baking sheet in a single layer until solid (about 1-2 hours). Then, transfer them to a freezer bag for storage. They can stay frozen for up to 3 months! When you’re ready to cook them, drop them directly into boiling water from the freezer, adding a few extra minutes to the cooking time.
What should I do if my dough is too sticky?
If you find that your dough is too sticky, don’t worry—it happens! Simply sprinkle a little extra flour over the dough and knead it in. This should help you achieve a smoother consistency. Remember, it’s crucial to avoid adding too much flour at once, as this can lead to a tough texture. The goal is to have a soft, slightly tacky dough.
Are these pierogi suitable for any dietary restrictions?
Yes! You can easily modify this pierogi recipe to fit various dietary needs. For a gluten-free version, substitute all-purpose flour with a gluten-free flour blend. Additionally, you can use lactose-free cottage cheese for those with dairy sensitivities. Just ensure to tailor the fillings to suit other allergies or preferences; there’s a world of possibilities!
Pierogi
Ingredients
Equipment
Method
- In a large bowl, mix the flour and salt together. Create a well in the center and gradually add the egg and water. Mix until a soft dough forms, then knead gently until smooth and elastic. Let it rest for about 20 minutes.
- Peel and chop the potatoes, then boil them in salted water until fork-tender. Drain well and mash until smooth. Combine them with cottage cheese, adding a pinch of salt to enhance the flavors.
- On a generously floured surface, roll the dough to about 1/8 inch thick. Use a 3-inch cookie cutter to cut out circles, ensuring you have enough for all your filling.
- Place a tablespoon of the potato and cottage cheese filling on each circle. Fold the dough over the filling and pinch the edges firmly to seal them. Make sure there are no air pockets.
- In a large pot, bring salted water to a gentle boil. Drop the pierogi into the water in batches, cooking until they float (about 3-5 minutes). Remove them carefully with a slotted spoon and let them drain.
- In a skillet over medium heat, melt a couple of tablespoons of butter. Add the cooked pierogi and sauté until they turn golden brown and crispy on both sides, which will take about 4-5 minutes.


Leave a Comment