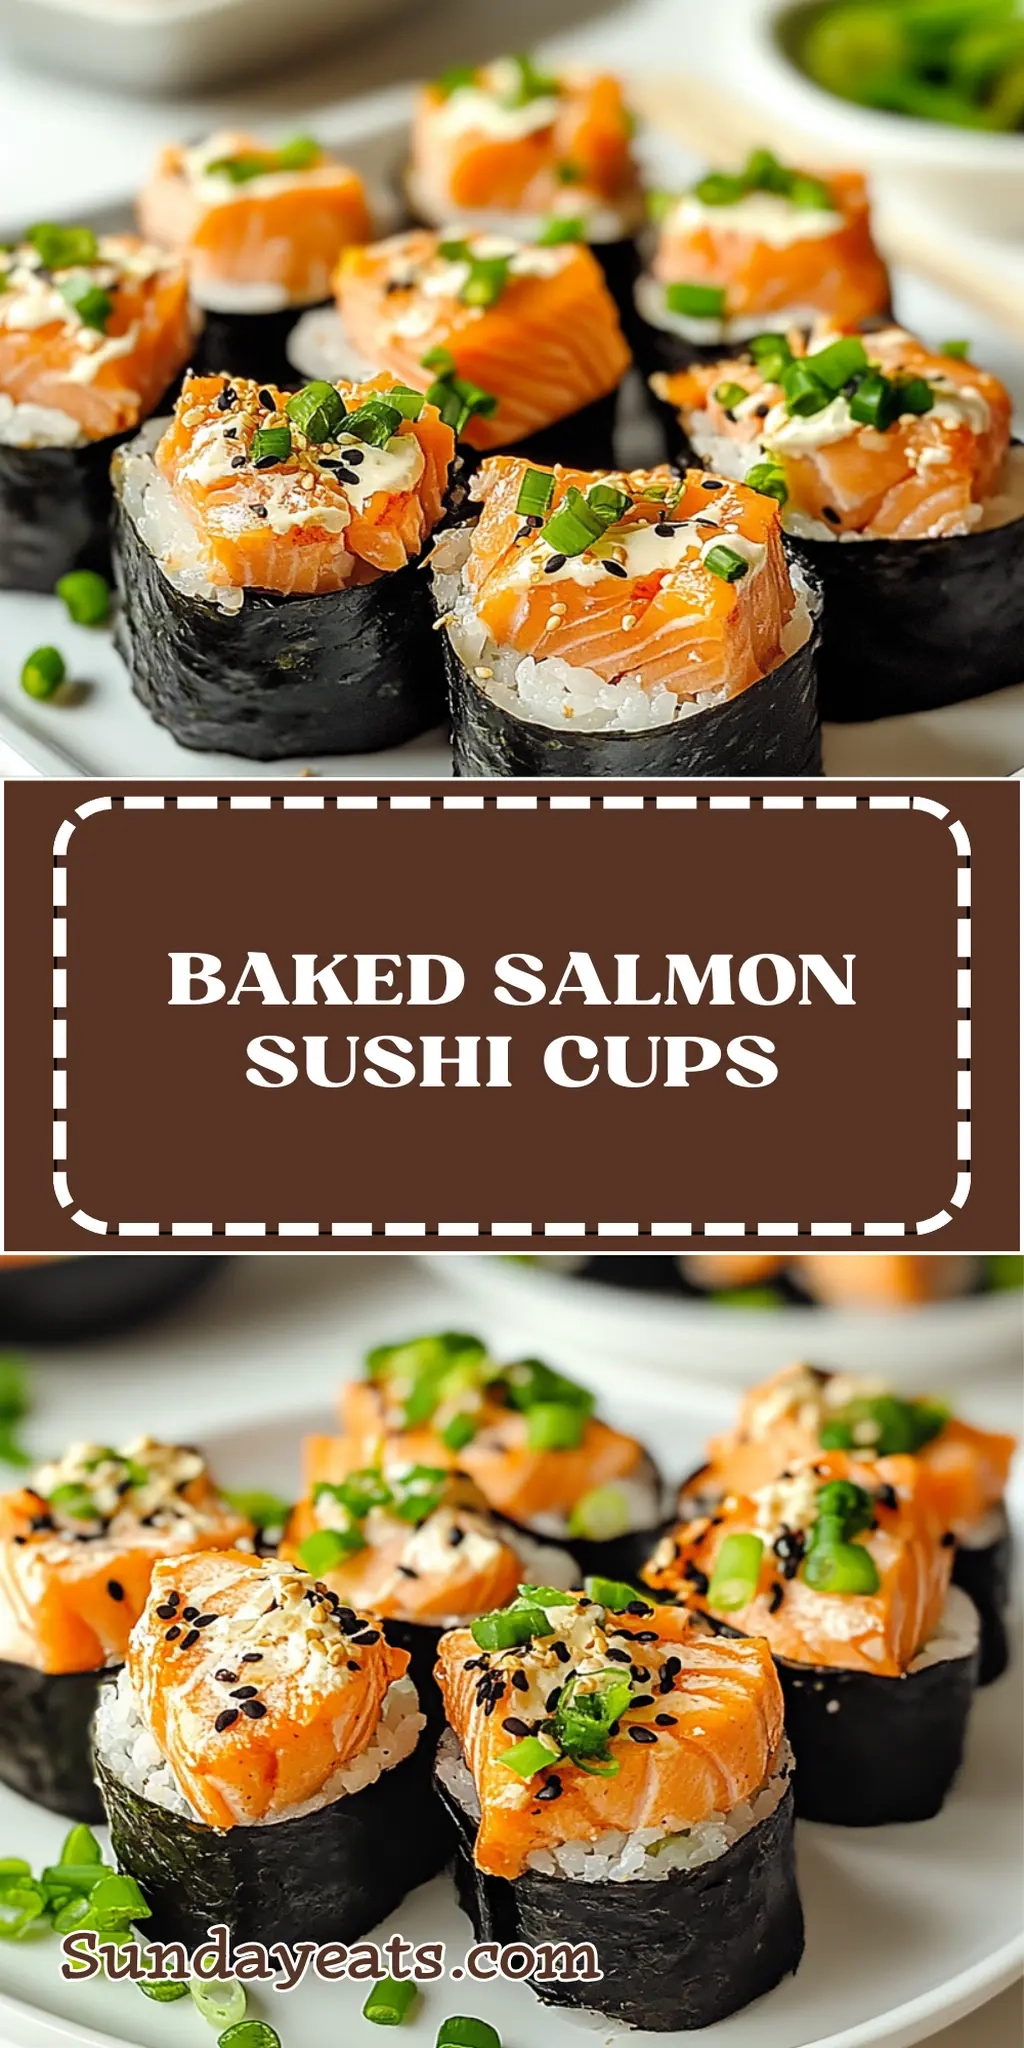
There’s something truly delightful about the contrast of warm, crispy rice and the fresh, buttery texture of sushi-grade salmon. The first time I whipped up these Baked Salmon Sushi Cups, it was an experiment born from a desire to shake up my usual weeknight meals. I wanted something fun, flavorful, and easy to prepare, and these little cups did not disappoint.
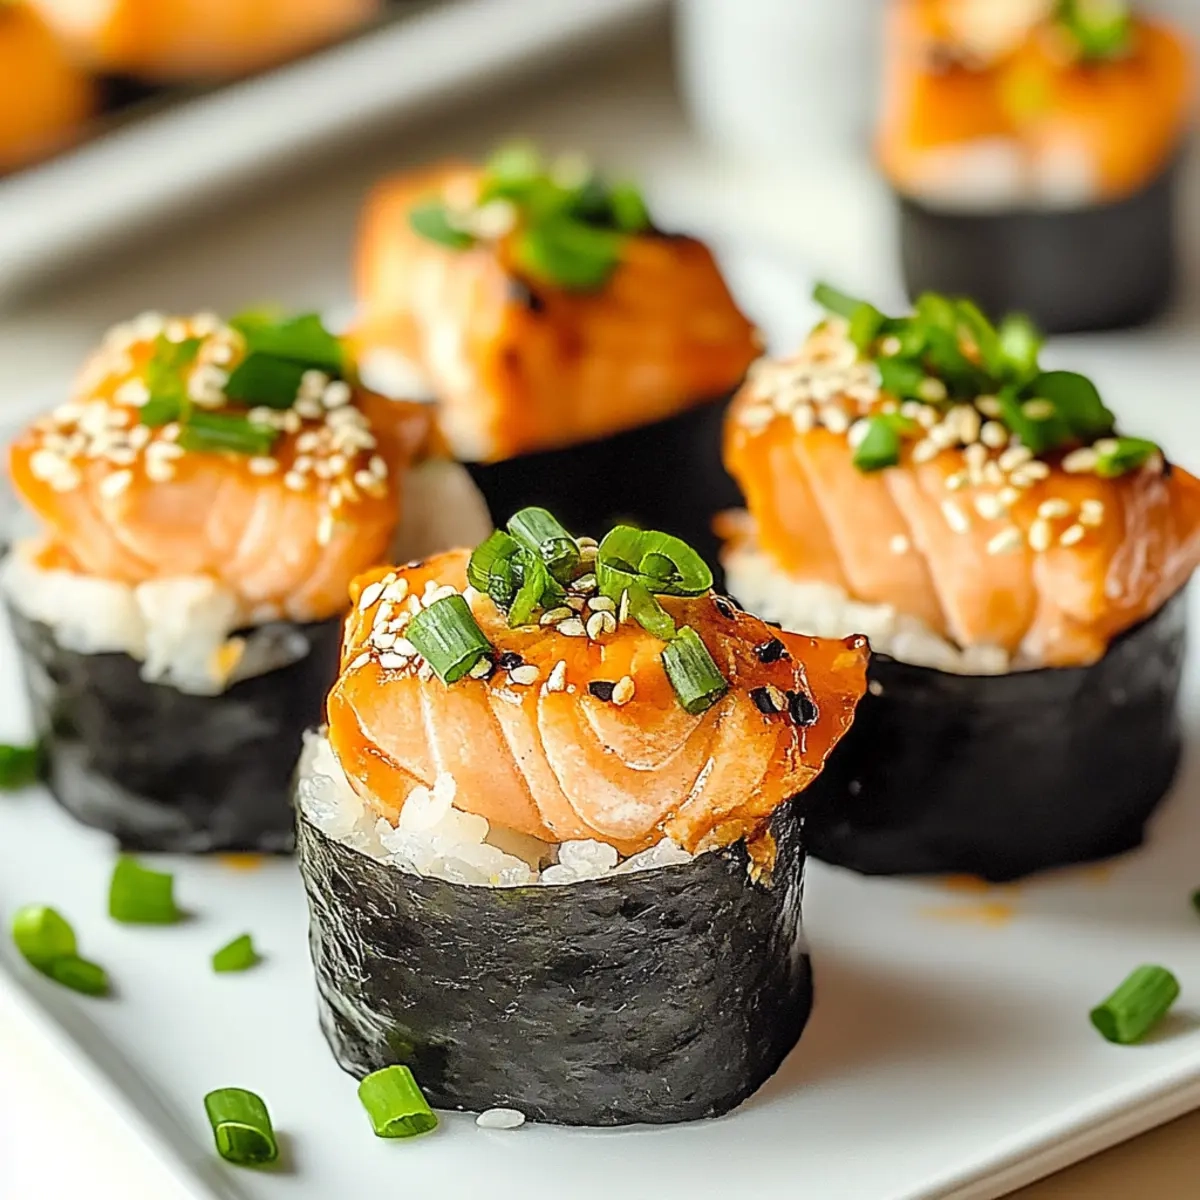
Imagine the aroma of toasty rice combined with the richness of avocado, topped off with a drizzle of soy sauce that ties everything together. Baked Salmon Sushi Cups are not just a feast for the eyes; they also offer a burst of flavors with every bite. Plus, they’re a fantastic way to impress guests without spending hours in the kitchen.
Whether you’re cozying up for a casual night in or hosting friends for a festive gathering, these sushi cups are versatile enough for any occasion. Join me in elevating your homemade food game and discover how effortlessly you can recreate this sushi-inspired treat right in your oven!
Why You'll Love This Baked Salmon Sushi Cups
- These Baked Salmon Sushi Cups are incredibly easy to make, requiring just a few simple steps that anyone can follow.
- The combination of warm, crispy rice and fresh salmon creates an explosion of flavor that is sure to leave you wanting more.
- They are versatile enough to adapt with your favorite toppings, making them a personalized dish for every palate.
- With a stunning visual appeal, they are perfect for impressing guests at any gathering while saving you time in the kitchen to enjoy with loved ones.
Baked Salmon Sushi Cups Ingredients
For the Rice
• Sushi rice – essential for achieving that perfect sushi texture.
• Water – the key to cooking the rice to fluffy perfection.
• Rice vinegar – adds a tangy flavor that balances the richness of the salmon.
• Sugar – a touch of sweetness to complement the rice vinegar.
• Salt – enhances the overall flavor of the rice.
For the Filling
• Sushi-grade salmon – ensures freshness and quality for delectable bites.
• Ripe avocado – adds a creamy texture and healthy fats to your sushi cups.
• Green onions – provide a hint of sharpness and a lovely pop of color.
For Drizzling
• Soy sauce – a savory element that ties together all the flavors beautifully.
• Wasabi or spicy mayo (optional) – adds a kick for those who enjoy some heat.
Get ready to create a harmony of textures and flavors with these Baked Salmon Sushi Cups that will impress both you and your guests!
How to Make Baked Salmon Sushi Cups
-
Preheat your oven to 375°F (190°C). This step is crucial for achieving that delightful golden-brown finish on your sushi cups.
-
Rinse the sushi rice under cold water until the water runs clear. This process eliminates excess starch, ensuring a fluffier texture.
-
Combine rinsed rice and water in a medium saucepan. Bring to a boil over medium heat, then reduce heat to low. Cover and cook for about 15 minutes until water is fully absorbed.
-
Fluff the cooked rice gently with a fork. Mix in rice vinegar, sugar, and salt until everything is well combined, infusing your rice with flavor.
-
Grease a muffin tin lightly to prevent sticking. Take small handfuls of the seasoned rice and press them into each cup, creating a sturdy base.
-
Bake for about 15 minutes until the rice edges turn golden brown. This will create a wonderful crunchy texture that pairs beautifully with the filling.
-
Cool the sushi cups slightly before you fill them. Gently spoon in diced salmon, avocado slices, and a sprinkle of green onions to finish them off.
-
Drizzle with soy sauce or add a touch of wasabi or spicy mayo, if you’re feeling adventurous. This will elevate your sushi cups and suit any spice lover’s palate.
Optional: Garnish with sesame seeds for an extra layer of flavor and crunch.
Exact quantities are listed in the recipe card below.
What to Serve with Baked Salmon Sushi Cups?
Enhance your dining experience with delightful pairings that will elevate your Baked Salmon Sushi Cups to a memorable meal!
-
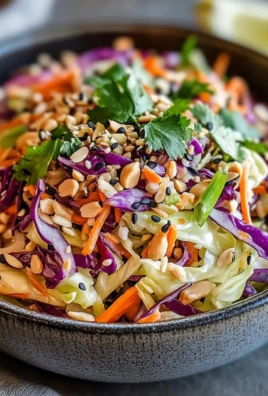
Crispy Edamame: A light, crunchy snack that adds a burst of flavor and complements the sushi cups beautifully. The slight saltiness contrasts perfectly with the creamy avocado.
-
Japanese Seaweed Salad: This refreshing salad brings a contrast of textures, with a zesty dressing that balances the rich, savory elements of the sushi cups.
-
Miso Soup: A warm, umami-rich broth that creates a comforting start to your meal, refreshing your palate and preparing you for the flavorful bites to come.
-
Pickled Vegetables: The sharp, tangy notes of pickled veggies provide an excellent counterpoint to the buttery salmon and avocado, enhancing every bite.
-
Sushi-Style Cucumber Rolls: Light and refreshing, these rolls can add a crunch and a fresh burst of flavor that harmonizes beautifully with the rich sushi cups.
-
Asian-inspired Green Tea: This soothing drink aids digestion and enhances the overall experience, with its delicate flavors complementing the meal’s unique qualities.
Consider following your sushi cups with a light dessert to finish on a sweet note. A dish like Mochi Ice Cream would provide a delightful contrast of temperature and texture, leaving your guests’ taste buds completely satisfied.
Make Ahead Options
These Baked Salmon Sushi Cups are a perfect choice for meal prep enthusiasts looking to save time! You can prepare the seasoned sushi rice up to 24 hours in advance; just store it in an airtight container in the refrigerator. Additionally, you can dice the salmon and slice the avocado up to 3 hours ahead of time—keep them in separate containers to maintain freshness and prevent browning. When you’re ready to serve, simply bake the rice cups as directed and fill them with the previously prepared salmon and avocado. Drizzle with soy sauce or spicy mayo right before enjoying these delicious, restaurant-quality bites at home!
Baked Salmon Sushi Cups Variations
Feel free to get creative and make these savory sushi cups your own with these delightful twists!
-
Spicy Addition: Mix sriracha into the soy sauce for an added kick that spices up every bite. It’ll give your sushi cups a thrilling, fiery edge.
-
Vegetarian: Substitute salmon with marinated tofu for a plant-based twist. Consider adding a layer of pickled vegetables for extra crunch and flavor.
-
Tropical Flair: Add diced mango instead of avocado for a sweet, tropical twist. The refreshing fruit combines beautifully with the savory elements.
-
Quinoa Alternative: Use quinoa in place of sushi rice for a protein-packed version. This hearty swap provides a lovely nutty flavor and texture.
-
Avocado Free: Skip the avocado and replace it with cucumber slices for a refreshing crunch. This alteration keeps your sushi cups light and refreshing.
-
Herb Infusion: Mix in chopped fresh herbs like cilantro or mint into the rice for an aromatic lift. These herbs add brightness and freshness to each cup.
-
Sweet and Savory: Drizzle a touch of honey over the salmon before filling the cups for a sweet contrast to the salty soy sauce. It’s a surprising and delightful flavor experience.
-
Cheesy Version: Sprinkle crumbled cream cheese or goat cheese in the rice before baking. This adds a creamy texture and a unique flavor profile to your sushi cups.
How to Store and Freeze Baked Salmon Sushi Cups
Fridge: Store any leftover Baked Salmon Sushi Cups in an airtight container in the fridge for up to 3 days. This preserves the freshness of the ingredients.
Freezer: For longer storage, freeze the sushi cups without toppings in a freezer-safe container for up to 1 month. Thaw in the refrigerator overnight before reheating.
Reheating: Reheat the sushi cups in the oven at 350°F (175°C) for about 10-15 minutes, or until warmed through. This helps maintain their crispy texture.
Assembling Later: To keep components fresh, store the rice, salmon, and avocado separately. Assemble just before serving to enjoy the best flavor and texture.
Chef's Helpful Tips
- When making Baked Salmon Sushi Cups, ensure you rinse the sushi rice thoroughly to achieve a light and fluffy texture, as excess starch can lead to overly sticky rice.
- Always allow the rice to cool slightly before filling the cups, as this prevents the avocado and salmon from becoming overly warm and losing their freshness.
- Keep an eye on the baking time; the sushi cups should be golden brown on the edges for the perfect crunch without burning.
- Lastly, experiment with different toppings like sesame seeds or scallions to add unique flavors and textures to your sushi cups.
Baked Salmon Sushi Cups Recipe FAQs
How do I select the best sushi-grade salmon?
Absolutely! When selecting sushi-grade salmon, look for bright, clear color without any dark spots or a dull appearance. The flesh should feel firm and have a slight sheen. It’s often best to purchase from a reputable fish market that sells sushi-grade fish. Ask them for recommendations, especially fresher options.
How should I store leftover Baked Salmon Sushi Cups?
Very good question! Store any leftover Baked Salmon Sushi Cups in an airtight container in the fridge. They will keep for up to 3 days but are best enjoyed fresh. If you notice changes in texture or any unusual odors, it’s a sign they should be tossed.
Can I freeze Baked Salmon Sushi Cups, and if so, how?
Yes, you can! To freeze your Baked Salmon Sushi Cups, make sure to cool them completely first. Place them in a single layer in a freezer-safe container without any toppings. They can be stored for up to 1 month. When you’re ready to enjoy them, thaw them overnight in the refrigerator and reheat in a preheated oven at 350°F (175°C) for about 10-15 minutes until warmed through and crispy again.
What can I do if my sushi rice is too sticky?
If you find yourself with overly sticky sushi rice, don’t worry! The main cause is usually not rinsing the rice enough. In the future, make sure to rinse the rice until the water runs clear before cooking. If it’s already too sticky, try fluffing it gently with a fork and mixing in a bit more rice vinegar to help balance the flavors.
Are there any dietary concerns I should consider with this recipe?
Absolutely! It’s important to note that sushi-grade salmon can be harmful to pets, so keep these delicious sushi cups out of their reach. Additionally, if anyone has seafood allergies, this recipe is not suitable. For those who prefer plant-based options, consider replacing the salmon with marinated tofu or an assortment of grilled vegetables.
What should I do if my muffin tin is sticking?
If your muffin tin is sticking despite greasing, try using a non-stick spray that contains flour, or line the cups with parchment paper for extra safety. Another option is to allow the baked rice to cool slightly longer before attempting to remove the sushi cups; patience can work wonders! Each technique will help you achieve that perfect sushi cup without any hassle.
These Baked Salmon Sushi Cups Recipe FAQs should help you along the journey to crafting the perfect treat!
Baked Salmon Sushi Cups
Ingredients
Equipment
Method
- Preheat your oven to 375°F (190°C).
- Rinse the sushi rice under cold water until the water runs clear.
- Combine rinsed rice and water in a medium saucepan. Bring to a boil over medium heat, then reduce heat to low. Cover and cook for about 15 minutes until water is fully absorbed.
- Fluff the cooked rice gently with a fork. Mix in rice vinegar, sugar, and salt until well combined.
- Grease a muffin tin lightly to prevent sticking. Take small handfuls of the seasoned rice and press them into each cup.
- Bake for about 15 minutes until the rice edges turn golden brown.
- Cool the sushi cups slightly before filling them with diced salmon, avocado slices, and a sprinkle of green onions.
- Drizzle with soy sauce or add wasabi/spicy mayo to finish.


Leave a Comment