There’s nothing quite like the feeling of sinking your teeth into a homemade treat that not only satisfies your sweet tooth but also leaves you feeling good about what you’re eating. That’s exactly why I set out to create these incredibly simple, no-bake homemade granola bars. Picture this: I came home from a busy day, craving a quick snack, yet tired of the sugary options that seemed to lurk in my pantry. I wanted something wholesome, flavorful, and super easy to whip up.
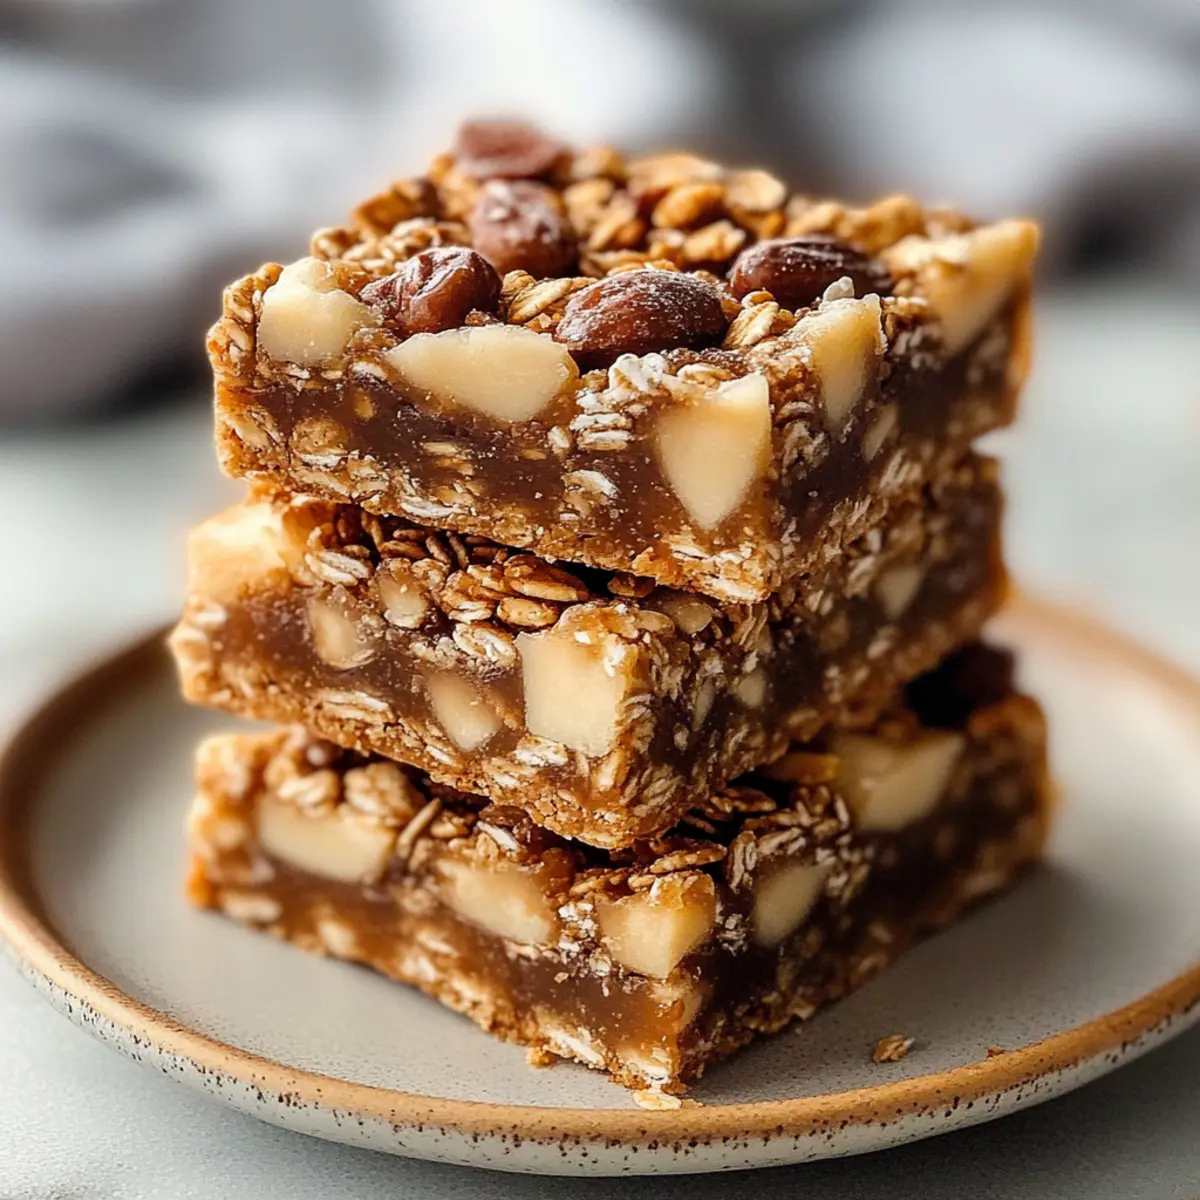
As I explored my kitchen, a combination of oats, honey, and nuts came together – and magic happened! These bars are not only filled with nutritious ingredients packed with energy, but they’re also versatile enough to customize with your favorite nuts or dried fruits. Best of all, they come together in just a matter of minutes and require no baking at all. Whether you’re tackling the afternoon slump or looking to fuel up before a workout, these no-bake granola bars are bound to become a staple in your home. Let’s dive in and get making these delightful snacks together!
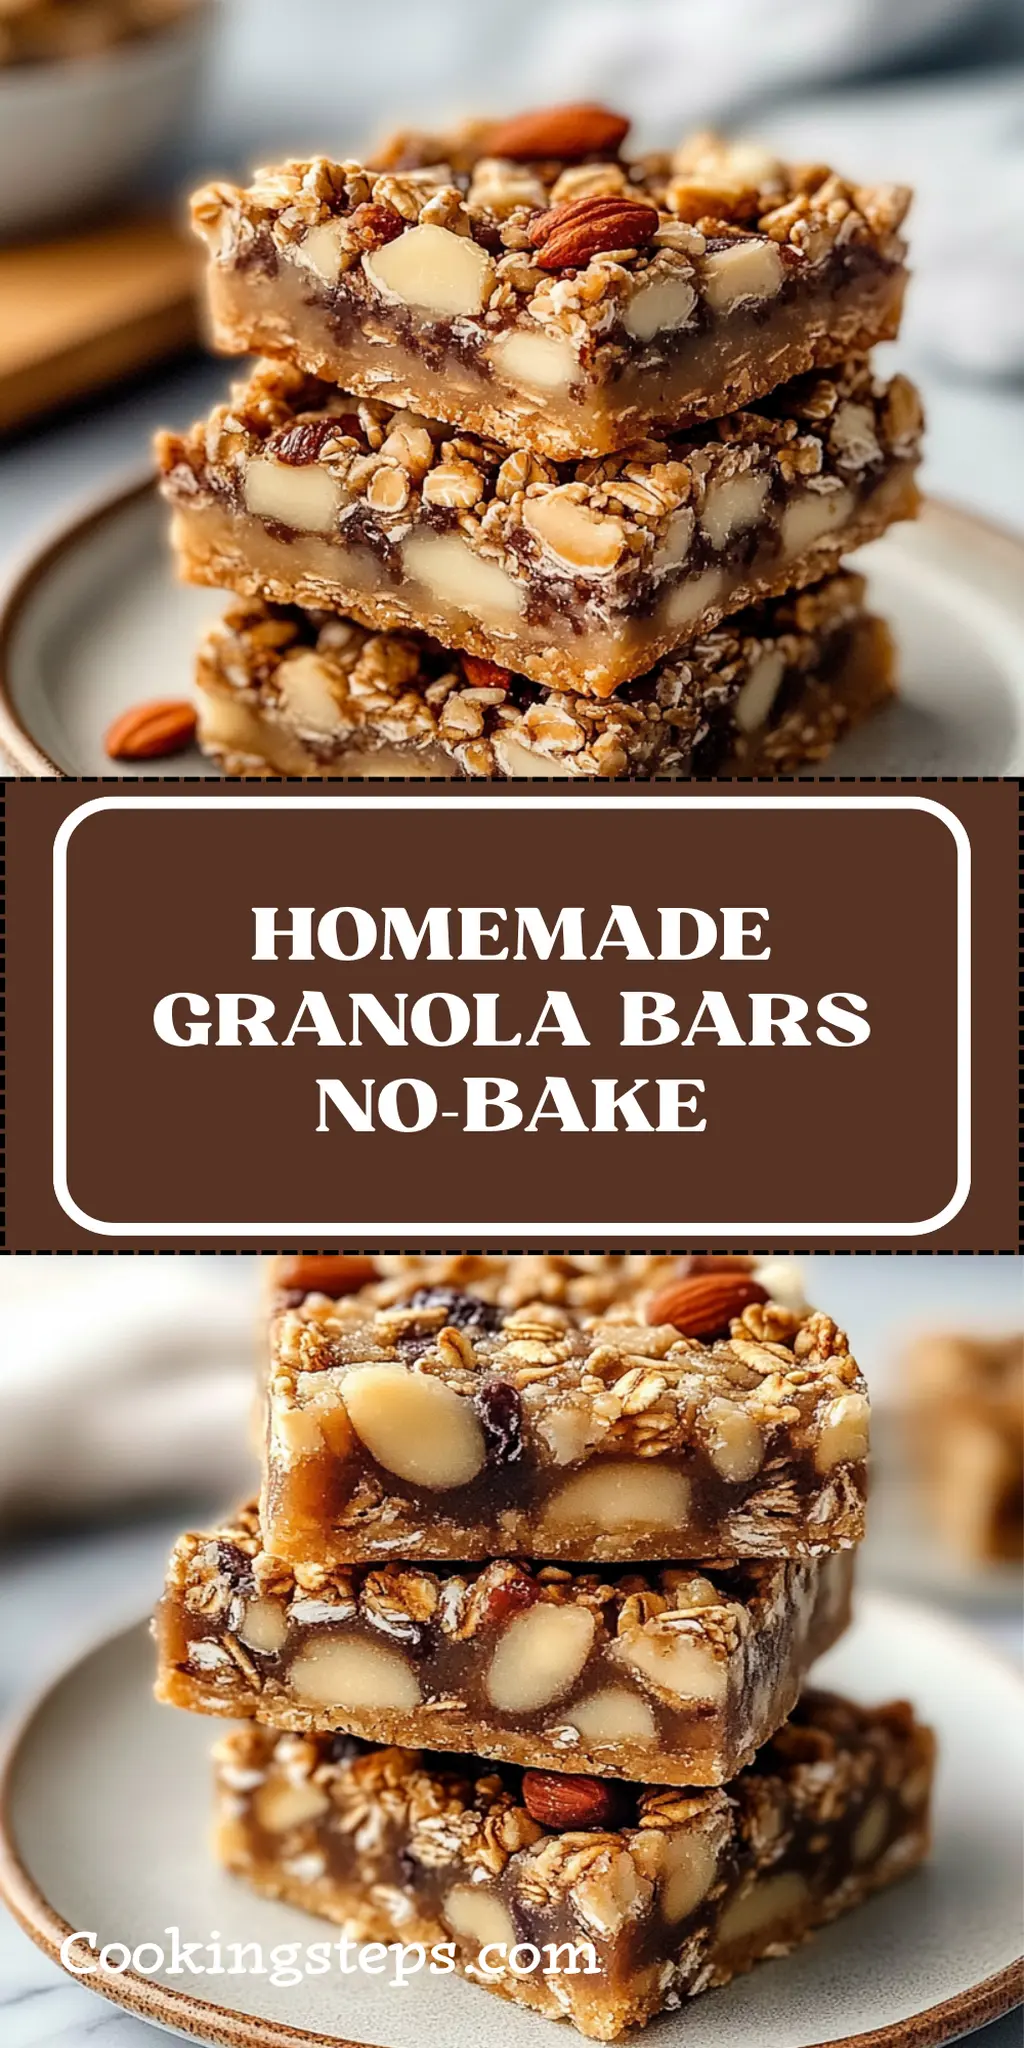
Why You'll Love This Homemade Granola Bars No-Bake
- These homemade granola bars are incredibly easy to make, requiring just a few simple ingredients and minimal effort.
- You’ll love how versatile they are, as you can customize them with your favorite nuts, seeds, or dried fruits to suit your taste.
- They not only taste great but also look fabulous, making them a visually appealing snack to share with friends and family.
- Best of all, since they’re no-bake, you can whip them up in just a few minutes, saving you precious time in the kitchen while satisfying your cravings.
Homemade Granola Bars No-Bake Ingredients
For the Base
• 2 cups rolled oats – the heart of your granola bars, providing great texture and fiber.
• 1 cup nut butter – acts as a binding agent; creamy peanut butter or almond butter works best.
• 1/2 cup honey – adds sweetness and helps hold the bars together; agave syrup is a great substitute.
For Mix-Ins
• 1/2 cup nuts – chopped almonds or walnuts add crunch and healthy fats.
• 1/2 cup dried fruits – cranberries or raisins contribute natural sweetness and chewiness.
• 1/4 cup chocolate chips – for a touch of indulgence, consider dark chocolate for a healthier option.
Optional Toppings
• Pinch of sea salt – enhances all the flavors and balances the sweetness.
• Drizzle of extra nut butter – adds a beautiful finish and extra richness on top.
With just these ingredients, you’re set to create delicious homemade granola bars no-bake that will surely become a family favorite!
How to Make Homemade Granola Bars No-Bake
-
Combine Ingredients: In a large mixing bowl, blend the rolled oats, nut butter, and honey together. Mix until everything is evenly coated and well-combined, creating a sticky base.
-
Add Mix-Ins: Gently fold in the chopped nuts, dried fruits, and chocolate chips to the mixture. Ensure that your mix-ins are distributed evenly for a delightful bite every time!
-
Press Mixture: Line an 8×8 inch pan with parchment paper. Pour the granola mixture into the pan and press it down firmly to pack it tightly. This helps the bars hold their shape once set.
-
Chill the Bars: Place the pan in the refrigerator for at least 30 minutes to allow the bars to firm up. This waiting time is crucial for achieving that perfect no-bake texture.
-
Slice into Bars: After chilling, remove the granola slab from the pan and peel off the parchment paper. Slice into bars or squares, depending on how big you like your snacks!
-
Store for Later: Store your homemade granola bars in an airtight container, at room temperature for a week, or refrigerate to keep them fresh even longer.
Optional: Drizzle with extra nut butter before serving for a delicious finishing touch!
Exact quantities are listed in the recipe card below.
Chili Variations
Feel free to make this classic chili your own with these exciting twists that cater to every palate!
-
Vegetarian: Use 1 can of black beans and sauté mushrooms to replace the ground beef for a hearty, meat-free version. Packed with flavor, this alternative is just as satisfying.
-
Spicy: Add diced jalapeños or a teaspoon of cayenne pepper for an extra kick. Adjust according to your heat tolerance to ensure it’s just how you like it!
-
Tex-Mex: Incorporate corn, diced green chilies, and Mexican spices like paprika or taco seasoning for a zesty flair that celebrates bold Southwestern flavors.
-
Smoky: Add a teaspoon of smoked paprika or a few drops of liquid smoke for a unique depth. This will transform your chili into a cozy campfire delight.
-
Creamy: Stir in a dollop of sour cream or Greek yogurt just before serving for added creaminess and richness. It also serves to cool down the spice quotient.
-
Quinoa Boost: Substitute half of the beans with cooked quinoa for a protein-packed boost that enhances the texture and nutritional value while keeping it hearty.
-
Sweet Twist: Toss in a tablespoon of brown sugar or a splash of maple syrup to balance the acidity of tomatoes. This surprising hint of sweetness can enhance the overall depth.
-
Herb-Infused: Toss in fresh cilantro or parsley just before serving to brighten the flavors. These fresh herbs add a beautiful pop of color and a refreshing finish to the dish.
Make Ahead Options
These homemade granola bars no-bake are perfect for meal prep! You can prepare the base mixture and pack it into the pan up to 24 hours in advance, ensuring you’ll have a quick, nutritious snack ready to go. Simply mix the oats, nut butter, and honey, then add your favorite mix-ins before pressing the mixture into a lined pan. To maintain that delicious, chewy texture, store the prepped mixture in the refrigerator until you’re ready to chill it. When it’s time to enjoy, just pop it in the fridge for about 30 minutes to firm up, slice into bars, and you’ll have an easy, energy-boosting snack that’s just as delectable as freshly made!
How to Store and Freeze Homemade Granola Bars No-Bake
Room Temperature: Store your homemade granola bars in an airtight container at room temperature for up to 1 week for optimal freshness.
Fridge: For extended freshness, refrigerate the bars in a sealed container; they will stay tasty for up to 2 weeks, maintaining their chewy texture.
Freezer: If you want to prepare ahead, freeze the bars in a single layer, then transfer to a freezer-safe container. They’ll stay good for up to 3 months—just thaw before enjoying!
Reheating: There’s no need to reheat; simply enjoy your homemade granola bars straight from the fridge or at room temperature for a quick, nutritious snack.
What to Serve with Classic Chili?
A steaming bowl of chili is just the beginning of a comforting meal that warms both your heart and your hunger.
- Cornbread: With its slightly sweet flavor and crumbly texture, cornbread is the perfect companion to soak up every drop of savory chili goodness.
- Fresh Cilantro: A sprinkle of vibrant cilantro not only adds a burst of freshness but also enhances the chili’s savory notes beautifully.
- Avocado Slices: Creamy avocado slices lend a rich, buttery texture that balances the hearty spice of the chili. Pairing avocado with your chili creates a delightful contrast.
- Sour Cream: A dollop of sour cream provides a cooling effect, taming the heat while adding a rich creaminess that beautifully complements the dish.
- Nachos: Crispy tortilla chips are ideal for dipping or piling high with chili, cheese, and toppings, bringing a fun and shareable element to mealtime.
- Grated Cheese: Cheddar or Monterey Jack melted atop your chili offers a gooey, rich layer that elevates flavors and brings comfort in every bite.
- Pickled Jalapeños: For those who crave some zing, tangy pickled jalapeños add a delightful kick, enhancing the chili with their spicy and tart notes.
- Beer: A cold, crisp lager pairs perfectly with chili, cutting through the richness while complementing the bold flavors of the dish.
- Chocolate Cake: Finish your meal on a sweet note with a slice of rich chocolate cake, providing a delightful contrast to the hearty spiciness of your chili.
Chef's Helpful Tips
- When making homemade granola bars no-bake, ensure your nut butter is at room temperature for easier mixing and binding.
- Avoid over-mixing your ingredients to maintain a variety of textures in each bite.
- When pressing the mixture into the pan, use the back of a measuring cup to achieve even pressure and a cohesive shape.
- Remember to chill the bars for at least 30 minutes to help them firm up and hold together when sliced.
Homemade Granola Bars No-Bake Recipe FAQs
How do I choose the best nut butter for my granola bars?
Absolutely! When selecting a nut butter, look for a creamy variety that suits your taste—creamy peanut butter or almond butter work wonderfully in this recipe. Aim for one with minimal added sugar or oils for a healthier option.
How can I store my homemade granola bars?
Very good question! To keep your no-bake granola bars fresh, you can store them in an airtight container. At room temperature, they last up to 1 week, but if you want to extend their shelf life, refrigerate them for up to 2 weeks.
Can I freeze my homemade granola bars?
Absolutely! To freeze, place the granola bars in a single layer on a parchment-lined baking sheet and freeze until solid. Then transfer them to a freezer-safe container. They can stay good for up to 3 months! Just remember to thaw them before enjoying or munch on them frozen for a delightful treat.
What if my mixture seems too crumbly?
No worries! If your granola bar mixture feels crumbly, it might be due to insufficient nut butter or honey. Try adding a bit more nut butter or honey, about a tablespoon at a time, until you achieve a sticky consistency that will hold together when pressed into the pan.
Are these granola bars suitable for people with nut allergies?
Absolutely! If you or someone you’re serving has nut allergies, you can use seed butters like sunflower seed butter as a substitute for nut butter. Additionally, make sure to check the labels on any mix-ins like chocolate chips or granola for allergen information to ensure they’re safe for everyone.
Homemade Granola Bars No-Bake
Ingredients
Equipment
Method
- In a large mixing bowl, blend the rolled oats, nut butter, and honey together until well-combined.
- Gently fold in the chopped nuts, dried fruits, and chocolate chips.
- Line an 8x8 inch pan with parchment paper and press the granola mixture firmly into the pan.
- Place the pan in the refrigerator for at least 30 minutes to allow the bars to firm up.
- Remove the granola slab from the pan, slice into bars or squares.
- Store your homemade granola bars in an airtight container.

Leave a Comment